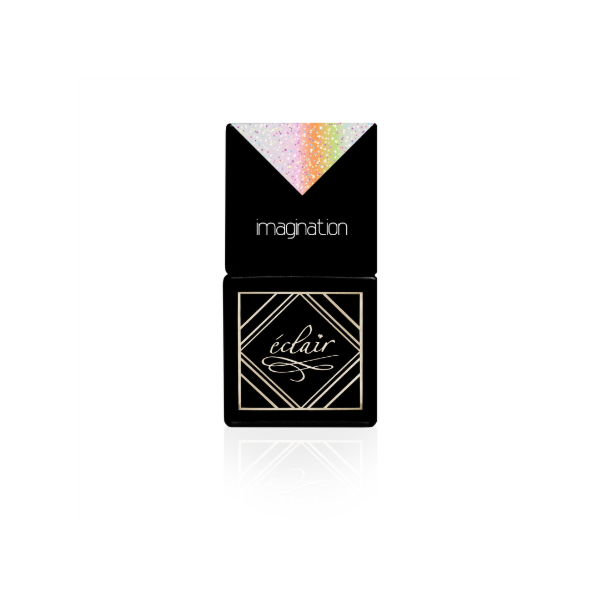
Imagination 7ml

Beauty and style in one - Imagination hybrid nail polish
Imagination is a hybrid polish that will introduce your nails to the world of extraordinary magic. If you dream of beautiful, spectacular stylizations, this product will fulfil your expectations. With its semitransparent formula and multicoloured glitter particles, it creates unique, surprising effects on your nails.
A striking finish with holographic shine
Applying Imagination nail polish guarantees a spectacular result. Once applied to your nails, it creates a striking coat of holographic shine. You can use it on its own, creating a subtle and magical look at the same time, or layer it over another solid colour to add a unique touch. Whatever effects you want to achieve, Imagination polish provides you with the tools to express your creativity and experiment with different designs.
Iridescent pink glitter particles - magic on your nails
What makes Imagination nail polish stand out from the crowd is not just its original colour. The iridescent pink glitter particles, reflecting the light in different shades, give your nails a unique three-dimensional shine. This rainbow effect of reflections attracts the eye and adds an extraordinary charm to your nails. Let your imagination take wing and create original styles that will enchant everyone around you.
Imagination is the perfect choice for those looking for something more than a simple nail polish. Its magical glitter flecks will add an extraordinary sparkle and make them stand out. Enjoy extraordinary effects that will transport you into a world of fantasy and add a unique touch to your manicure
På lager
- SKU
- 48184
The correct way to get the perfect manicure
We start by preparing the station, where only sterilised tools should be present. Remember to wear gloves and disinfect your hands!
STEP 1
Remove cuticles - this is best done with a milling machine and the picks that suit you best (you can find videos of different picks here). If you don't have a cutter, remove cuticles (dry) with a cutter pick and, if necessary, cut the cuticles with a pair of tweezers.
STEP 2
Matt the nails with a high-grade file (180 or 240) or polishing block, paying particular attention to the area around the nail shafts.
STEP 3
Clean the nail plate of dust using a brush. Apply Nail Prep, taking care not to touch the nail plate so as not to contaminate it again.
STEP 4
In this step, we apply Acid Primer or No Acid Primer or Ultra Bond Extra Strong (recommended to increase polish adhesion).
STEP 5
After the Primer has evaporated (approx. 15s.), apply Smart Base Crystal Clear, curing in the lamp (UV - 2 min. or LED - up to 30s.)
STEP 6
Then apply the first layer of gel polish, cure in the lamp (UV - 2 min. or LED -30 to 60 sec.).
STEP 7
For a better effect and depth of colour, apply a second coat of gel polish, cure in the lamp (UV - 2 mins or LED -30 to 60 secs).
STEP 8
Apply Top Coat or Ultra Top Matt, depending on the effect you want to achieve. Speed up your work by applying Top Thicky No Sticky without a dispersion layer.
If you want to give your nails an original finish use our GALAXY Top No Wipe, which will transform any nail design.
STEP 9
Wipe off the dispersion layer with a dust-free sponge soaked in Cleaner.
STEP 10
Apply oil to nourish cuticles and shine the finish with a cotton swab.
Gel Polish removal
Remove your gel polish with our excellent drill bit for gel polish!